
Repairing a bike tyre either means fixing a puncture or replacing a flat tyre. No matter how carefully you ride, getting a flat tyre is inevitable. At some point in your life, you will need to experience a flat tyre; hence, knowing how to fix it can save you valuable time. Fixing a bike tyre is simple since you need basic knowledge and lots of practice. Learning the skill is essential and can help you in emergencies. The article states five easy steps following which you can become a pro at fixing your bike tyre in no time.
Steps to fix the bike tyre
Step 1: Remove the wheel
To begin the repair procedure, you need to remove the wheel from your bike. If you have rim brakes, release the brakes to remove the wheel. Otherwise, if the bike has V-brakes, then you need to squeeze the brake arms together, release the tension, and release the cable. Depending upon your brake, remove your wheel carefully. Next, use a skewer or wrench to loosen the bolts for the front tyres.
For the rear wheel, you need to put in extra effort to manage the chain, cassette, crankset, and derailleurs. First, shift the rear derailleur into the tiniest cog and apply pressure to release the chain. Now, pull the rear wheel from the rear dropouts from the frame smoothly.
Step 2: Remove the inner tube
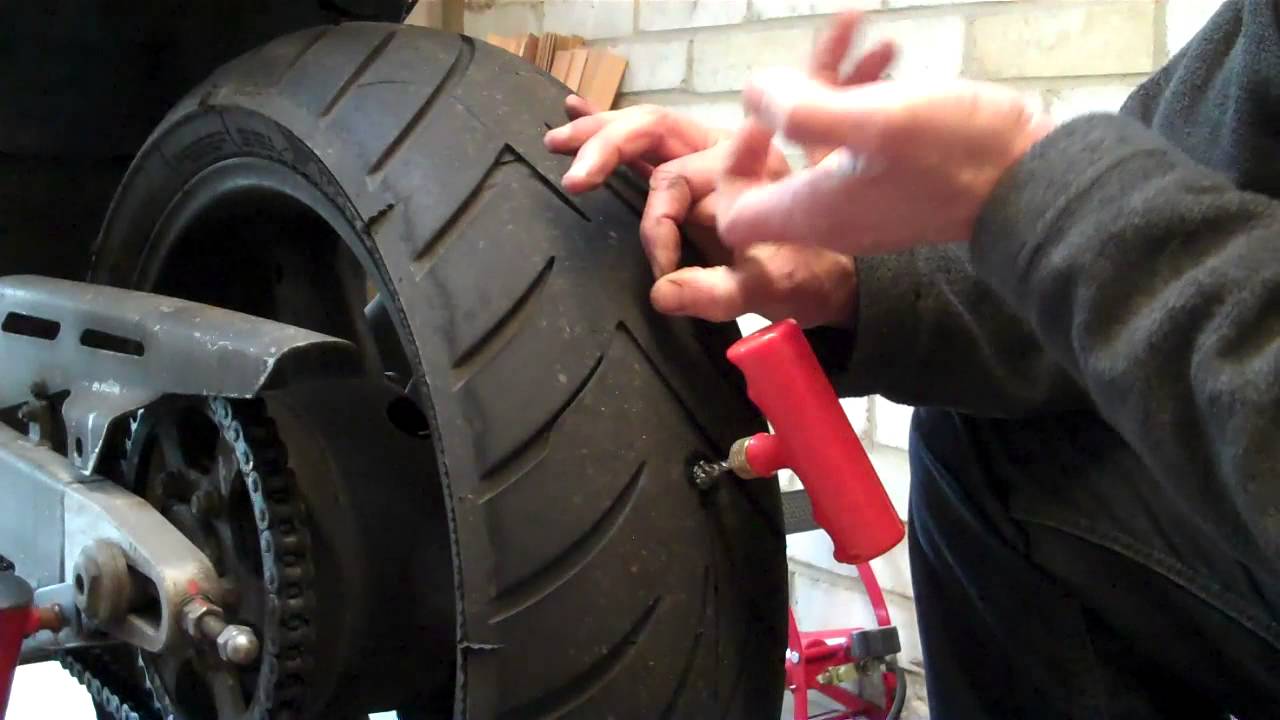
To remove the inner tube, you need to deflate the tyre. The deflating process will depend upon the valve type of your bike. For example, if you have a Schrader valve, you need to put pressure on the centre pin of the valve. For the presta valve, you need to loosen the valve and then deflate it.
Once the tyre is deflated, unseat the tyre bead from the rim by pushing the bead edge towards the centre of the rim using your hands or tire levers. To avoid damage, start from the opposite end of the valve stern. After unseating a portion, work around the tyre and complete the process. Slowly remove the inflatable tube by pulling the valve stem through the rim.
Buy – > Bike tyre lever
Step 3: Identify the cause of the flat
Once you have removed the tube, find out the problem’s cause and the flat’s source. After removing the tube, remember to clear the tyre for existing debris. It will prevent future damage when a new tube is installed. Examine the tyre for tears, cuts, or punctures. If the tyre is clear, examine the tube thoroughly for signs of damage.
You do not have to worry if you cannot find the cause of the problem since it might not be obvious. Inflate the tube again and hear for escaping air through small leaks. You can even submerge the tube in water and check the area for air bubbles. Check the quality of the valve to ensure that there are no protruding ends causing leakage.
Step 4: Repair or replace
After identifying any of the above issues, you can either repair or replace the tube. The answer depends on you; often, there is no right or wrong. Depending on your circumstances, the situation can be handled by a quick swap or a proper patch. Swapping the tube with a new one is one of the easiest methods to recover a flat and is often preferred by riders. It provides them with a temporary solution on the road as they can reach home and effectively patch the tube. You can even carry patch kits and revive the inner tube. However, if the damage is severe, replace the tube completely instead of patching it.
Step 5: Repairing the tube
For repairing the damaged tube:
- Identify the area of concern.
- Clean it thoroughly and use sandpaper to create an abrasion on the damaged surface.
- Spread glue over it and provide time for it to become tacky.
- Apply the patch and put pressure on it.
Step 6: Reinstall the tube
Since you have solved the issue, remount the tyre and unpause your biking experience. Partially inflate the inner tube to check its repair. Insert the valve stem using a wire bead edge and ensure it is at the right angle. Now slowly install the rest of the tube into the tyre. You can use a tyre level for the seating but be careful. After mounting the tyre, inspect the edges to ensure the tube is not caught between the tyre bead and the ream. Inflate the tyre and massage it from both sides for proper inflation.
Buy – > Tire Repair Kit
Step 7: Reinstall the Wheel
Flip over your bike for easy installation of the rear wheel. First, position the wheel correctly to ensure that the smallest cog on the rear cassette is draped under the chain. Next, line up the wheel axle using frame dropouts and lower it into the right place while pulling the derailleur backward for proper axle seating. Now tighten the nut on the bike’s drive side while holding the release lever and then close it. Finally, ensure that the brakes are aligned, the gears shift smoothly, and the pedals spin.